The Ultimate Guide to a Flawless, Natural-Looking Self-Tan at Home
We only recommend products we love. If you buy from one of our links, we may earn a small commission at no extra cost to you.
The allure of a sun-kissed glow is undeniable. It evokes images of health, vitality, and effortless beauty. But we all know the dangers of prolonged sun exposure – premature aging, wrinkles, and increased risk of skin cancer. Thankfully, there’s a safer, equally effective way to achieve that gorgeous bronze: self-tanner. At Vorielle, we believe in embracing beauty that’s both luxurious and effortless, and self-tanning perfectly embodies that philosophy. This comprehensive guide will empower you to achieve a flawless, natural-looking self-tan at home, from pre-tan prep to post-tan maintenance.
Section 1: Pre-Tan Prep: The Foundation of a Flawless Tan

Before you even reach for the self-tanner, proper preparation is crucial. Think of it as creating the perfect canvas for your masterpiece. Skipping these steps can lead to streaks, uneven color, and a less-than-desirable result.
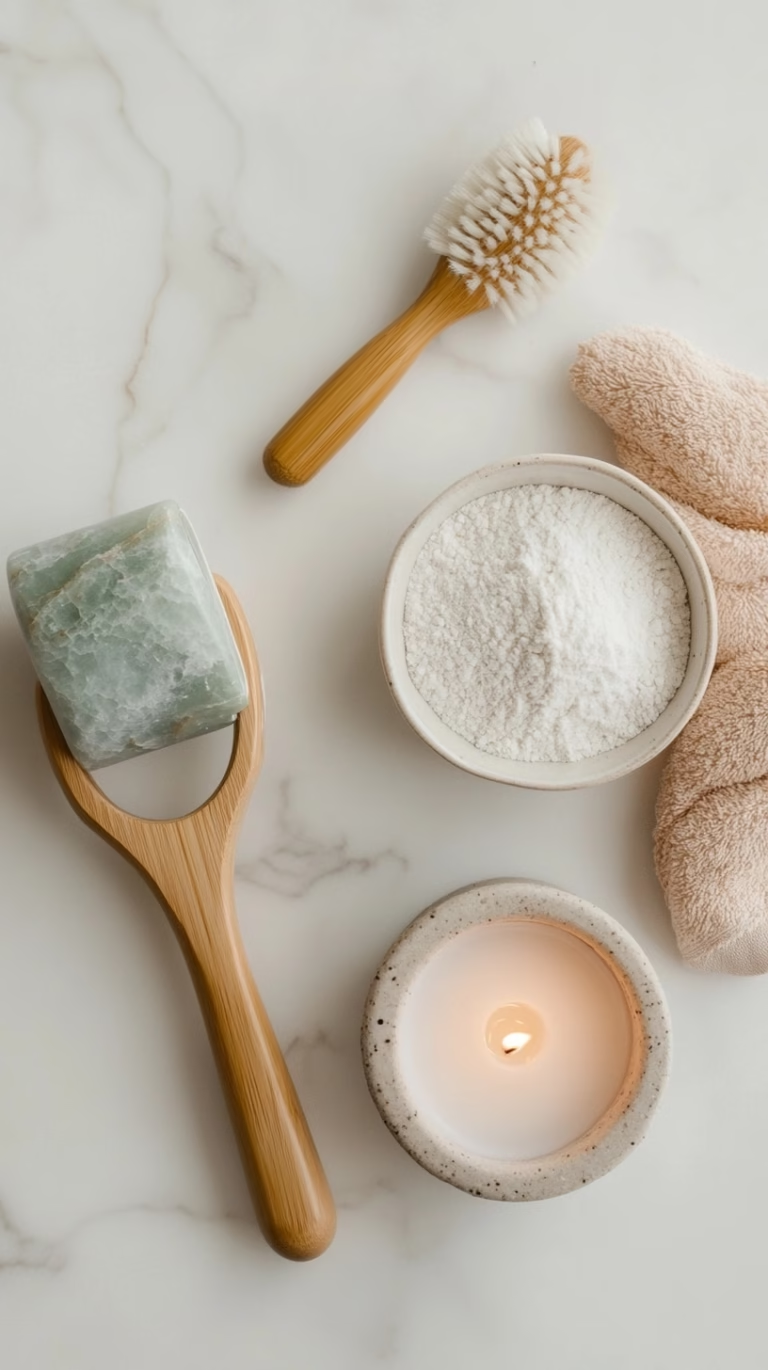
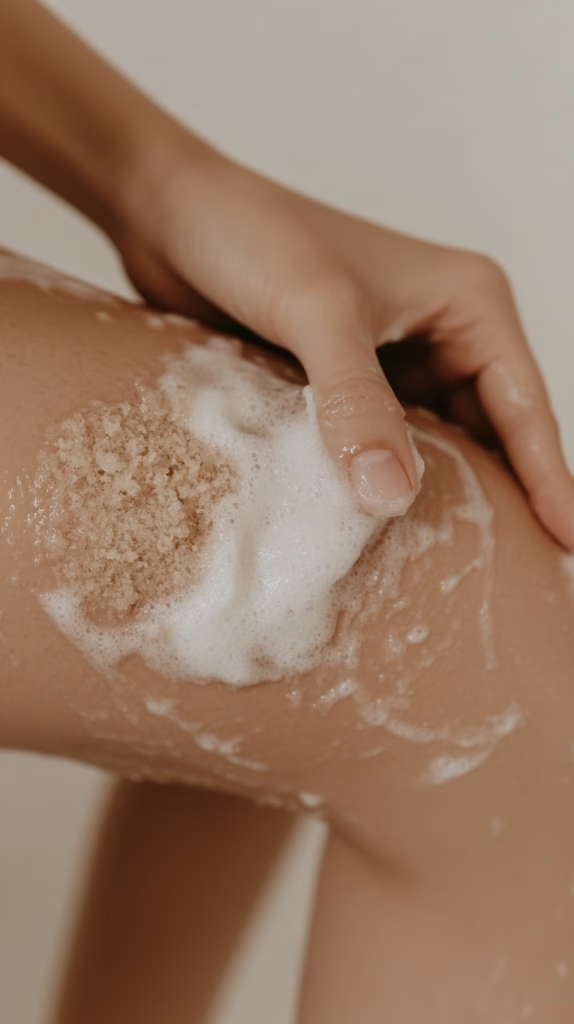
- Exfoliation is Key: This is arguably the most important step. Exfoliating removes dead skin cells, creating a smooth, even surface for the self-tanner to adhere to. This prevents patchy, uneven color, especially in areas prone to dryness like elbows, knees, and ankles.
- Methods:
- Dry Brushing: Use a natural bristle brush on dry skin before showering. Brush in gentle, circular motions, working your way up from your feet. [Dry Brush]
- Methods:
- Body Scrubs: Choose a scrub with fine particles for gentle exfoliation. Avoid oil-based scrubs, as they can create a barrier that prevents the self-tanner from absorbing properly. [OUAI Body Scrub]
- Chemical Exfoliants: Products containing AHAs (alpha-hydroxy acids) or BHAs (beta-hydroxy acids) can also be effective. Use these a day or two before self-tanning, not immediately before. [Paula’s Choice Exfoliant]
- (Visual Prompt: Close-up of someone gently exfoliating their legs with a body scrub, showing the texture of the product and the skin.)
- Hair Removal Timing: If you shave or wax, do so at least 24 hours before applying self-tanner. This allows your pores to close and any irritation to subside, preventing the self-tanner from settling into the pores and creating dark spots.
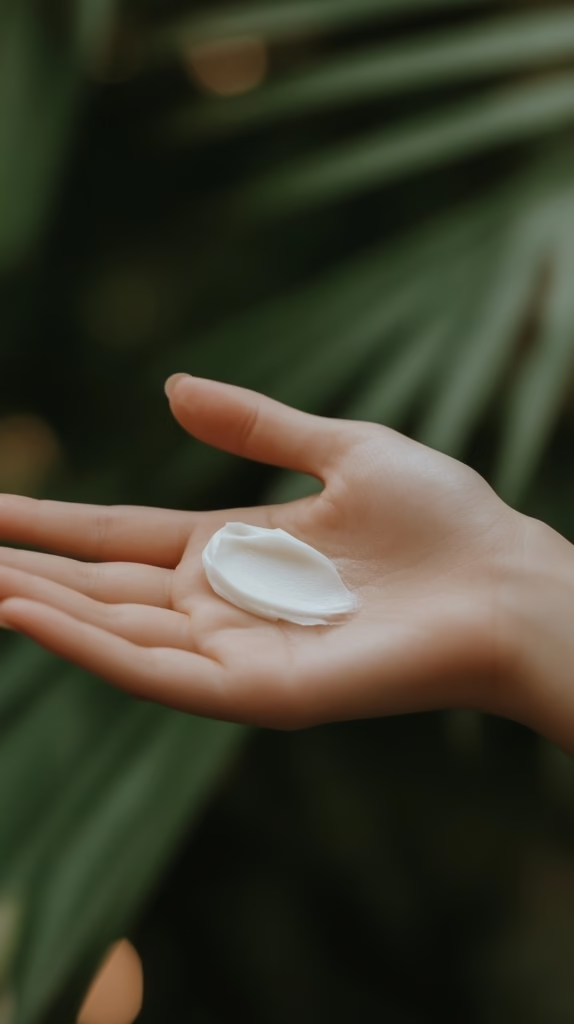
- Hydration Matters: Hydrated skin absorbs self-tanner more evenly. The day before, and a few hours before application, moisturize your entire body, paying special attention to dry areas like elbows, knees, ankles, and hands. Use a lightweight, oil-free moisturizer.
- Barrier Cream: Apply a thin layer of barrier cream to your nail beds, cuticles, between fingers and between toes, to avoid accidental staining on these areas.
Section 2: Choosing Your Perfect Self-Tanner
(Visual Prompt: A flat lay showcasing a variety of self-tanning products: lotions, mousses, gels, sprays, and drops. Include different shades and packaging. Maintain the clean, elegant aesthetic.)

The world of self-tanners can be overwhelming, but understanding the different types and shades will help you find your perfect match.
- Types of Self-Tanners:
- Lotions: Generally the most hydrating option, ideal for dry skin. They provide a gradual build-up of color.
- Mousses: Lightweight and fast-drying, mousses are easy to blend and suitable for most skin types.
- Gels: Similar to mousses, gels offer a quick-drying formula, often with a cooling sensation.
- Sprays: Convenient for hard-to-reach areas like the back. Ensure even application to avoid streaks.
- Drops: Concentrated formulas that can be mixed with your regular moisturizer for a customized, gradual tan. Ideal for the face.
- Gradual vs Instant: Gradual self-tanners require a few applications to reach your desired color, while instant will give you immediate results.
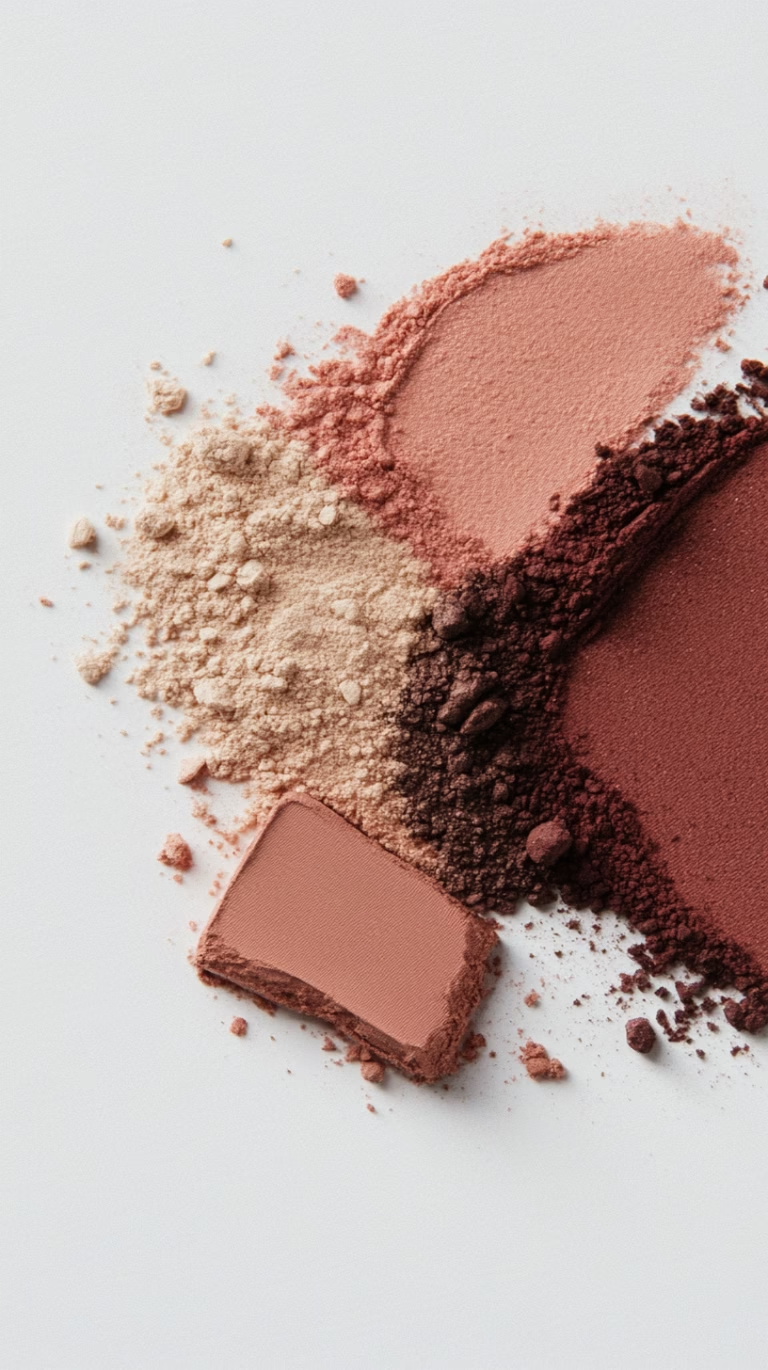
- Shade Selection: Choosing the right shade is crucial for a natural-looking result. Consider your natural skin tone:
- Fair Skin: Start with a light or fair shade to avoid an overly orange or unnatural look.
- Light to Medium Skin: A medium shade will typically work well.
- Medium to Olive Skin: A medium to dark shade will enhance your natural complexion.
- Dark Skin: A dark or ultra-dark shade will add depth and radiance.
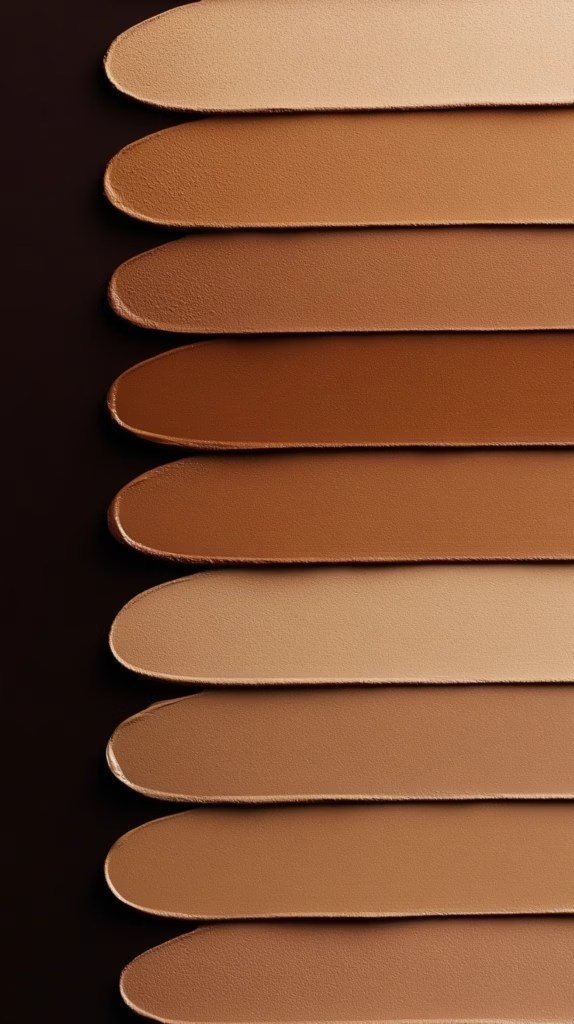
- It also helps to consider your undertone when choosing a product. If you have cool undertones, look for a tanner with cool or neutral undertones. If you have warm undertones, select a product with warmer bronze pigments.
- Product Recommendations:
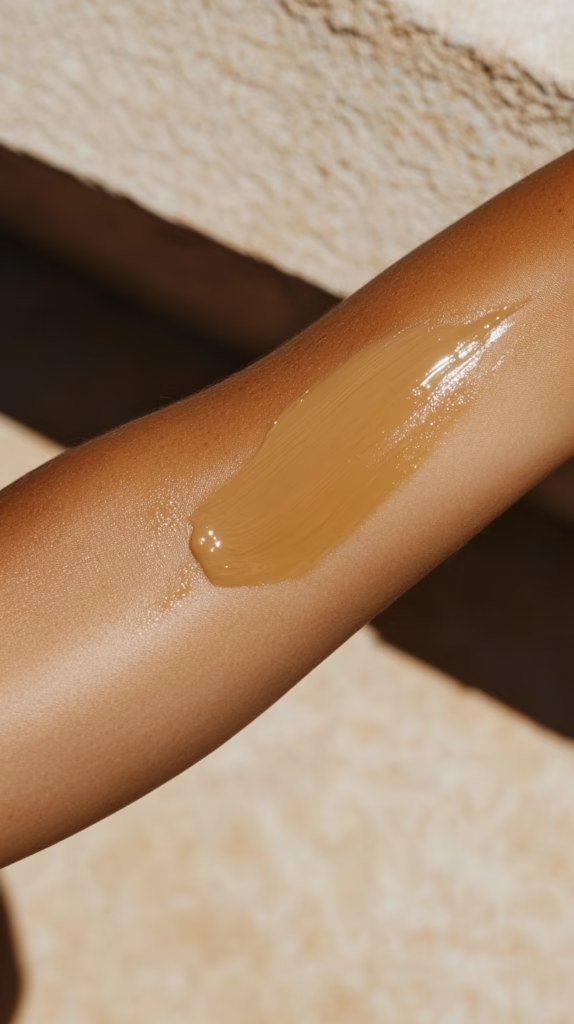
Section 3: The Art of Application: Step-by-Step Guide
Now for the main event! Follow these steps for a flawless, streak-free application.
- Tools of the Trade:
- A tanning mitt is essential for even application and preventing stained palms. [Tanning Mitt]
- A back applicator can be helpful for reaching your back. [Back Applicator]
- A small, dense makeup brush can be useful for blending on hands and feet. [Blending Brush]
- Section-by-Section Application:
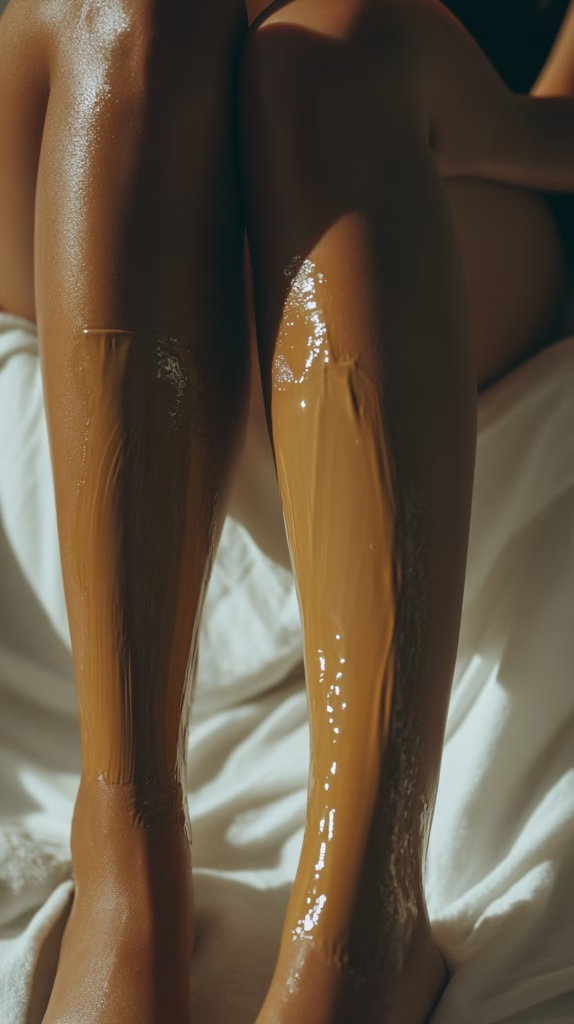
- Start with your legs: Apply a small amount of self-tanner to the mitt and blend in long, sweeping motions, starting from your ankles and working your way up. Overlap each stroke slightly to avoid streaks.
- Move to your arms: Use the same technique, starting from your wrists and working your way up to your shoulders.
- Tan your torso: Apply to your stomach and chest, blending carefully.
- Reach your back: Use a back applicator or ask a friend for help.
- Blend, blend, blend: Pay extra attention to blending at your wrists, ankles, knees, and elbows. Use circular motions to ensure seamless transitions.
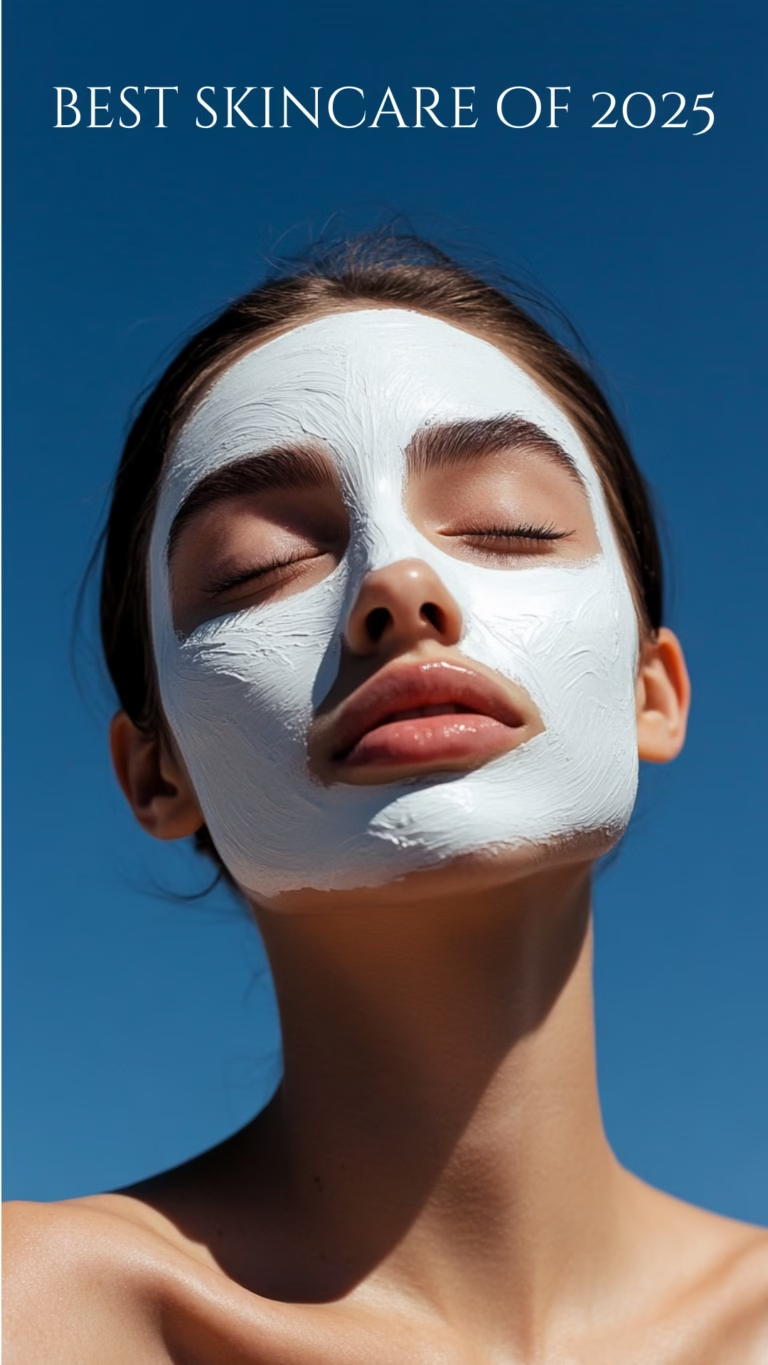
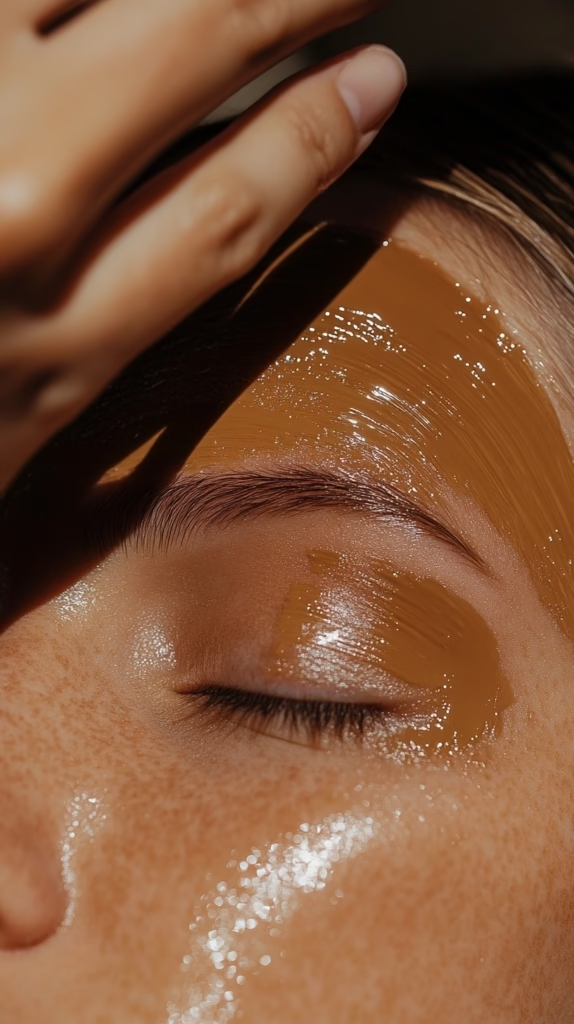
- Face Tanning Specifics:
- Choose the right product: Facial self-tanners are often formulated differently than body tanners, with lighter textures and added skincare benefits.
- Mix with moisturizer: For a subtle, natural glow, mix a few drops of self-tanning drops with your regular moisturizer.
- Apply evenly: Use your fingertips or a makeup brush to apply to your face, blending carefully along your hairline and jawline. Don’t forget your ears and neck!
- Contouring (optional): Use a slightly darker shade of self-tanner to contour your cheekbones and temples for a sculpted look.
- Addressing Mistakes:
- Use a tan remover to address any immediately.
- For any streaks, use a gentle exfoliator to rub the area.
Section 4: Post-Tan Care: Maintaining Your Glow

The work doesn’t end after application! Proper post-tan care is essential for maintaining your glow and preventing premature fading.
- Drying Time and First Shower: Allow the self-tanner to develop for the recommended time (usually 4-8 hours, or overnight). Avoid sweating or getting wet during this time. For your first shower, use lukewarm water and avoid harsh soaps or scrubs. Gently pat your skin dry.
- Moisturization is Key (Again!): Daily moisturizing is crucial for prolonging your tan and preventing it from becoming patchy or flaky. Use a hydrating, oil-free moisturizer. [Oil-Free Body Lotion]
- Extending Your Tan:
- Avoid long, hot baths or showers.
- Limit exposure to chlorine (swimming pools).
- Avoid skincare products containing retinol, AHAs, or BHAs, as these can accelerate fading.
- Consider using a tan-extending moisturizer. [Tan Extender Lotion]
- When to Reapply: Reapply self-tanner every 5-7 days, or as needed, to maintain your desired level of color. You may need to exfoliate lightly before reapplying to ensure even coverage.
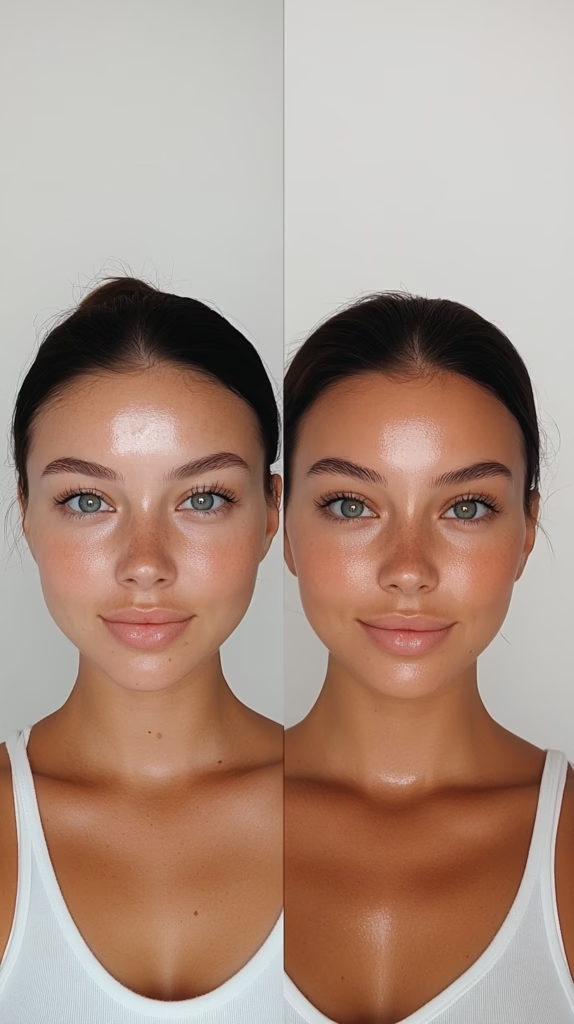
Conclusion:
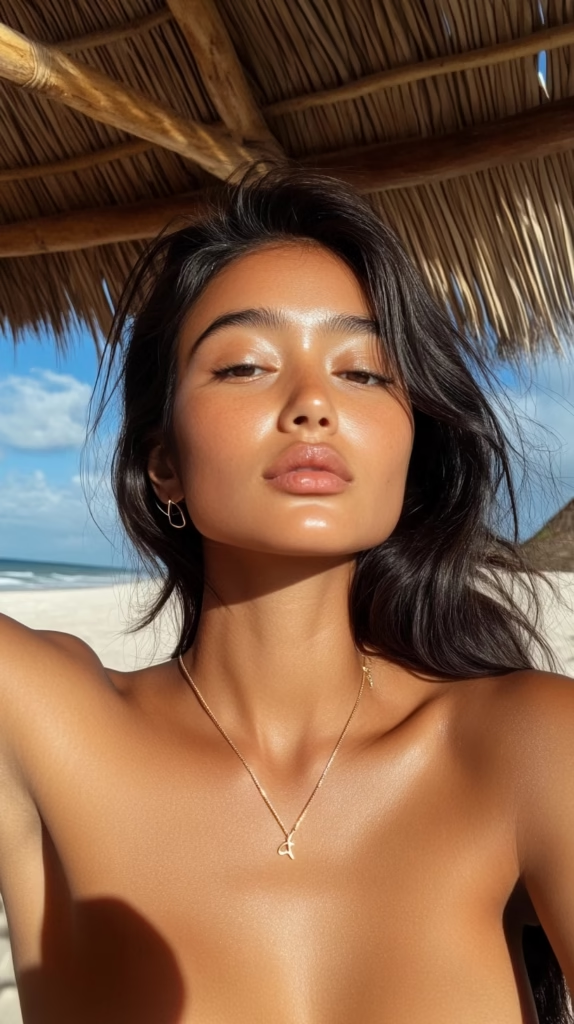
Self-tanning is the perfect way to achieve a gorgeous, sun-kissed glow without the harmful effects of the sun. By following these steps and using high-quality products, you can confidently create a flawless, natural-looking tan at home. Embrace the beauty of healthy, radiant skin – the Vorielle way.