Unlock the Secret to a Salon-Perfect Blowout at Home (That Actually Lasts!)
We only recommend products we love. If you buy from one of our links, we may earn a small commission at no extra cost to you.
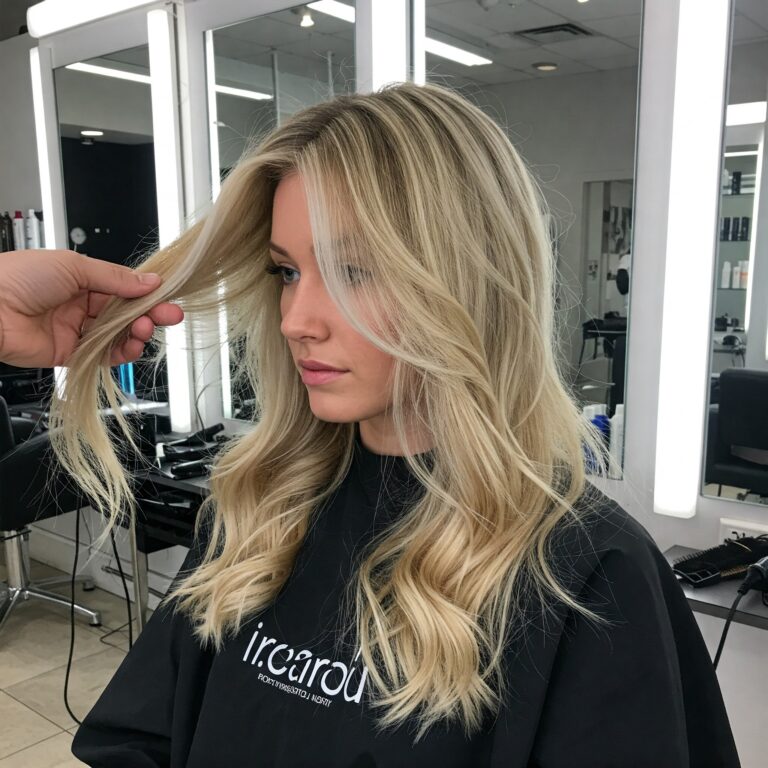
You’ve booked the blowout appointments, watched a dozen tutorials, and still ended up with hair that falls flat by lunchtime. Sound familiar? You’re not alone. But here’s the truth: the perfect blowout isn’t about magic—it’s about method. It’s about understanding your hair and applying the right techniques, not just blindly following generic advice. And it’s definitely not about resigning yourself to limp, lifeless locks.
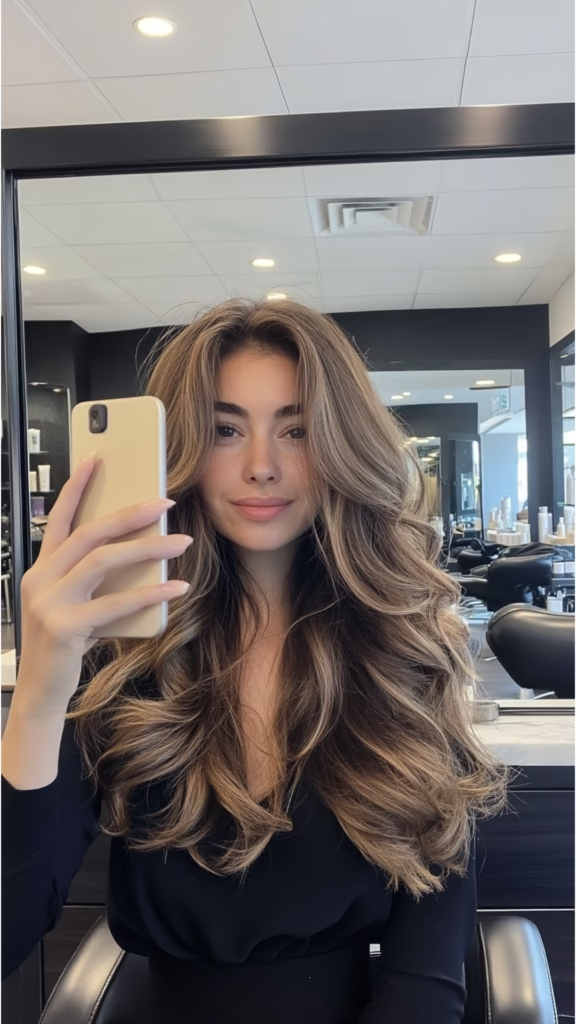
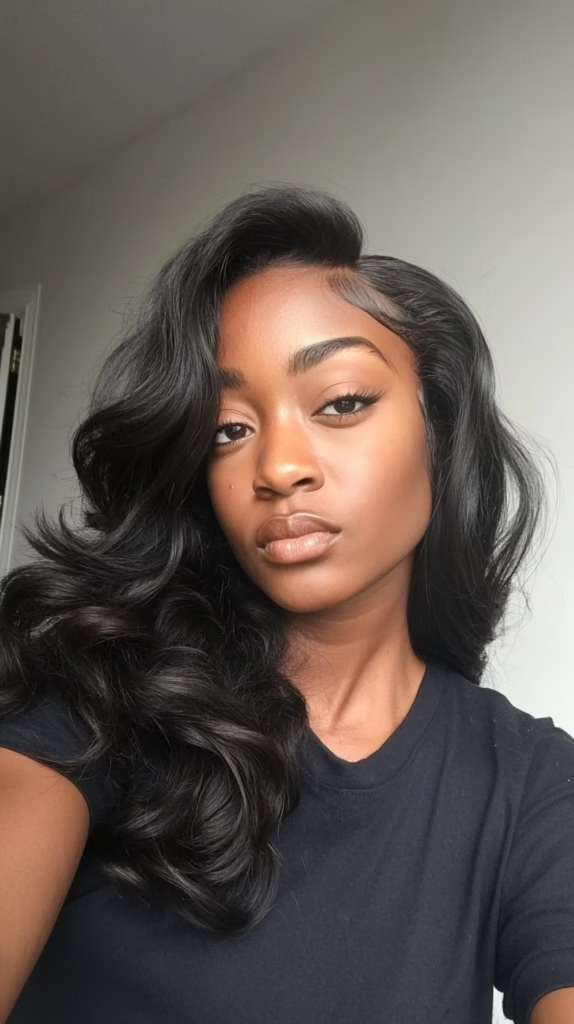
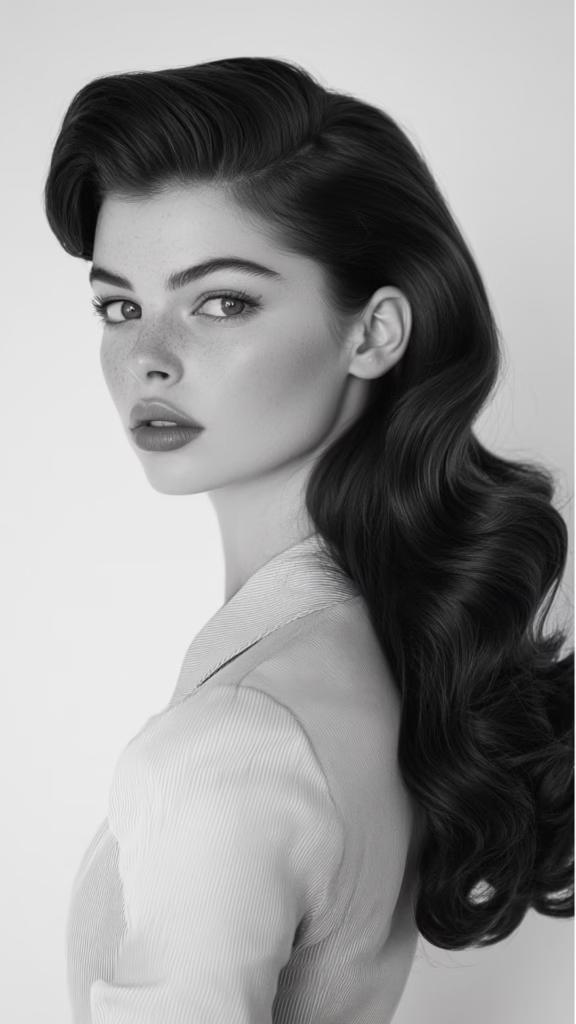
In this guide, you’ll learn how to create mirror-shiny, voluminous hair that lasts for days, whether you have layered locks, curly textures, or fine strands. We’re channeling 90s supermodel glamour, Victoria’s Secret bombshell vibes, and modern luxe techniques to make your hair the star. We’re not just aiming for “good hair”—we’re aiming for head-turning hair. Let’s dive in.
1. Prep Like a Pro: The Foundation of a Flawless Blowout
A truly exceptional blowout begins long before you pick up a blow dryer. Think of this stage as building the foundation for a masterpiece. Every step is crucial for achieving maximum volume, shine, and longevity.
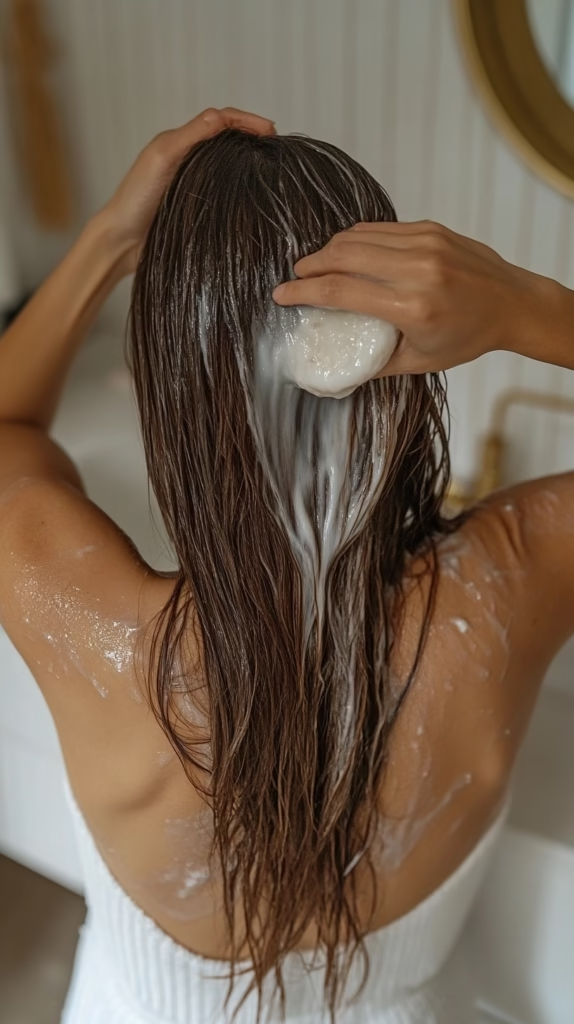
- Start with a Squeaky-Clean Base: Residue from styling products, oils, and even hard water can weigh your hair down and prevent it from achieving its full potential. That’s why choosing the right shampoo is paramount.
- Wash with a Volumizing Shampoo: Look for formulas that are specifically designed to lift roots without stripping away essential moisture. Oribe Magnificent Volume Shampoo is a luxurious option that delivers impressive volume while leaving hair feeling soft and manageable. For a more budget-friendly, yet still highly effective choice, consider Living Proof Full Shampoo. Its lightweight formula cleanses thoroughly without leaving behind any heavy residues.
- Target Your Concerns: If you have oily hair, a clarifying shampoo used once a week or every other week can work wonders. OUAI Detox Shampoo is a classic and affordable choice. If you have color-treated hair, prioritize color-safe formulas that won’t fade your vibrant hue.
- Condition Strategically: Conditioner is essential for hydration and smoothness, but applying it incorrectly can sabotage your blowout. Focus the conditioner only on the mid-lengths and ends of your hair, avoiding the roots entirely. This will prevent your roots from becoming weighed down and greasy. For fine hair, a lightweight conditioner like Oribe Conditional for Magnificent Volume is ideal. For thicker or drier hair, a more intensely hydrating conditioner like Moroccanoil Hydrating Conditioner will provide the necessary moisture.
- Towel-Dry with Intention: Vigorous rubbing with a standard terrycloth towel is a recipe for frizz and breakage. Instead, gently squeeze out excess water with a microfiber towel. The Aquis – Original Hair Towel is a game-changer. Its ultra-absorbent, smooth microfiber reduces drying time and minimizes frizz, leaving your hair perfectly prepped for styling. Think of it as a gentle hug for your hair, rather than a rough scrub.
- Apply a Heat Protectant (Non-Negotiable!): This is arguably the most important step in your prep routine. Heat styling without protection leads to damage, dryness, and a dull, lackluster finish. A good heat protectant creates a barrier between your hair and the heat, preserving its health and shine. Living Proof Perfect Hair Day Heat Styling Spray is a lightweight option that provides excellent protection without weighing hair down. For thicker hair, or those who use very high heat settings, Oribe Royal Blowout Heat Styling Spray offers a more robust shield.
Why it works: Rough towel-drying creates friction, leading to frizz and breakage. Skipping heat protection leads to damage, split ends, and dullness—all of which sabotage shine and volume. A clean, properly conditioned, and protected base is the key to a long-lasting, beautiful blowout.
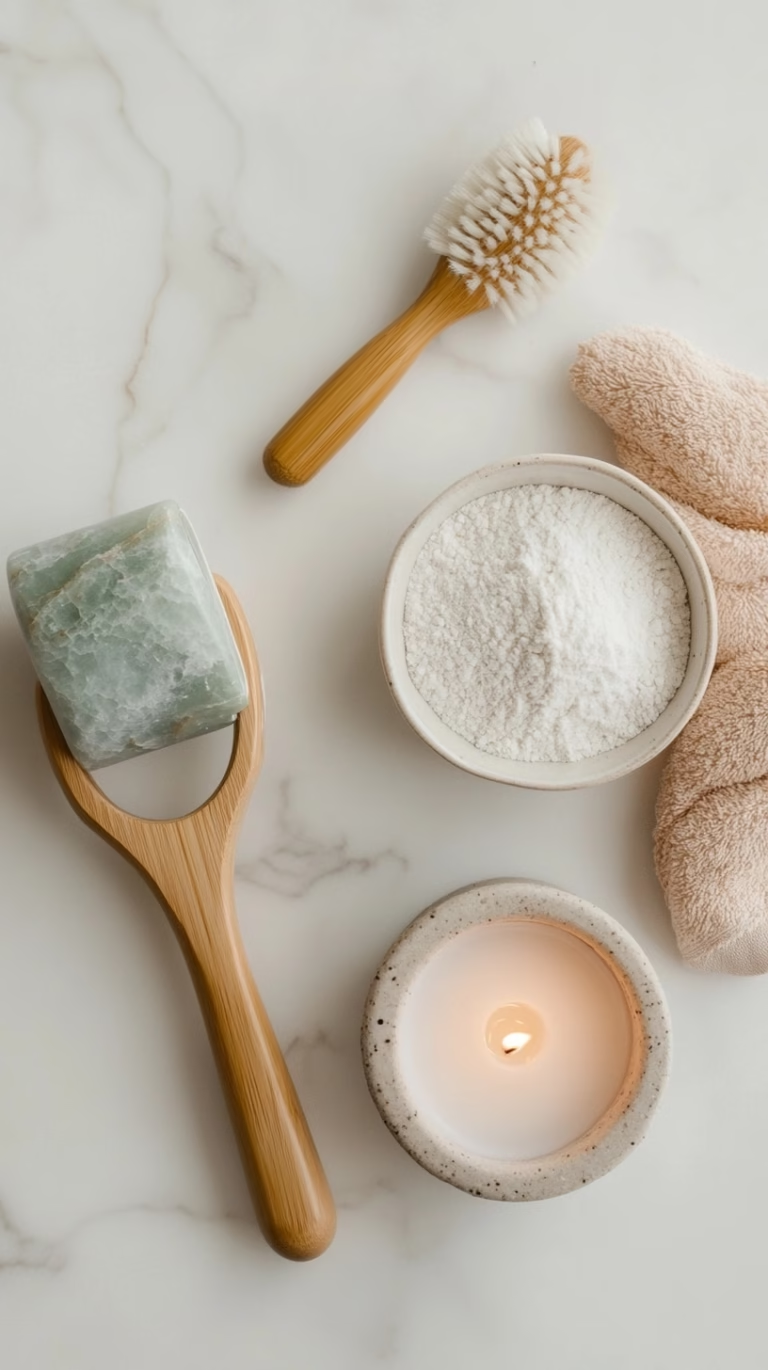
2. Tools of the Trade: Invest in Salon-Grade Essentials
Having the right tools is like having the right ingredients for a gourmet meal. They elevate the entire experience and significantly impact the final result. Don’t skimp on quality – these are investments in your hair’s health and your styling success.
- Ionic Hair Dryer: Ionic technology isn’t just a marketing buzzword. Ionic dryers emit negative ions that help break down water molecules faster, reducing drying time and minimizing heat exposure. This translates to less frizz, more shine, and healthier hair overall. The Dyson Supersonic Hair Dryer is the gold standard, known for its speed, precision, and intelligent heat control. However, it’s a significant investment. A fantastic mid-range option is the Conair InfinitiPRO 1875 Watt Salon Performance AC Motor Styling Tool, which offers powerful airflow and ionic technology at a more accessible price point.
- Round Brush (Choose Wisely): The right round brush is your partner in creating volume, smoothness, and shape.
- Boar Bristle Brush: Boar bristles are exceptional at distributing your hair’s natural oils, resulting in incredible shine and smoothness. They’re also gentle on the hair, minimizing breakage. The Mason Pearson Hairbrush is a legendary (and pricey) choice, beloved by stylists for its quality and performance. A more affordable, yet still excellent, option is the FIXBODY Boar Bristle Round Brush.
- Ceramic Brush: Ceramic brushes heat up evenly, providing consistent heat distribution for faster drying and smoother results. They’re particularly good for creating volume and curl. The Olivia Garden Ceramic + Ion Thermal Hairbrush is a popular and reliable choice. Choose a smaller diameter (1-1.5 inches) for tighter curls or shorter hair, and a larger diameter (2-3 inches) for loose waves and volume on longer hair.
- Sectioning Clips: These are essential for keeping your hair organized and ensuring that you’re working with manageable sections. Duckbill clips or Kitsch Clips are ideal because they hold the hair securely without leaving creases.
- (Optional) Curling Iron: For adding extra definition or creating 90s bombshell curls, a 1.5-inch curling iron can be a valuable addition to your toolkit. The T3 Twirl Trio is a versatile option with interchangeable barrels, allowing you to create a variety of curl sizes and styles. Alternatively, the strawberry Dyson Airwrap if you’re going all out and is on a discount now.

3. Sectioning Secrets: Divide & Conquer for Maximum Lift
This step is often overlooked, but it’s absolutely critical for achieving a professional-looking blowout. Sectioning ensures that every strand of hair receives the proper attention, heat, and tension, resulting in maximum lift, volume, and smoothness.
- Divide and Conquer: Don’t try to tackle your entire head of hair at once. This will lead to uneven drying, frustration, and a less-than-stellar result. Instead, divide your hair into at least four sections:
- Top Section: From your forehead to the crown of your head.
- Side Sections: One on each side, from your ear to the top section.
- Back Section: The remaining hair at the nape of your neck.
- Start at the Nape: Begin with the back section, working your way upward. This allows the lower layers to dry while you’re working on the upper layers, preventing them from becoming damp again from contact with wet hair.
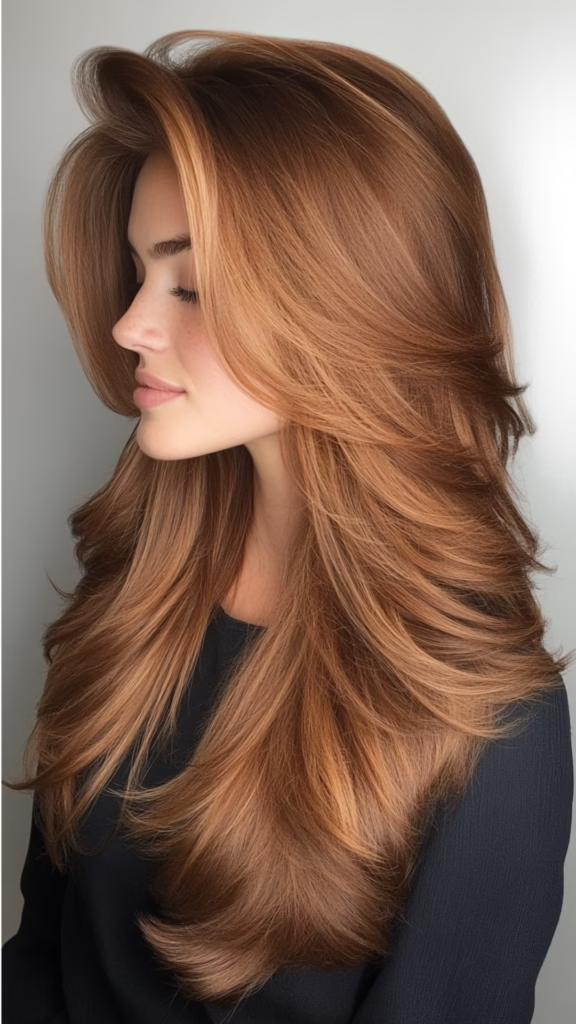
- Layered Hair Strategy: If you have layered hair, pay particular attention to the face-framing layers. Blow-dry these first, using a smaller round brush to create soft, flattering curves and accentuate the dimension of your cut.
- Secure with Clips: Use duckbill clips or sectioning clips to keep the sections neatly separated and prevent them from interfering with your work.
Why it works: Strategic sectioning ensures that each strand receives adequate heat and tension, leading to a more even, voluminous, and polished blowout. It also prevents you from re-wetting already dried sections, which can lead to frizz and a longer drying time.
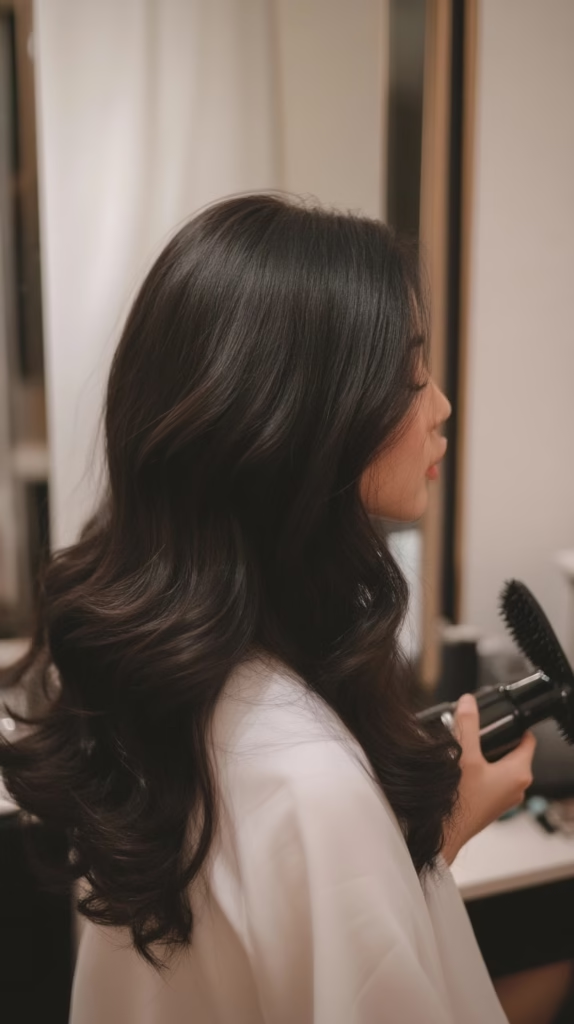
4. The Blow-Dry Technique: Angle, Tension, & Cool Shots
Now for the heart of the matter – the actual blow-drying technique. This is where the magic happens, transforming damp, lifeless hair into a cascade of voluminous, shiny perfection.
- Root Lift Hack: This is a crucial technique for maximizing volume. Tilt your head to the side, and direct the airflow from the dryer downward at the roots, lifting the hair away from the scalp. This creates lift and prevents the hair from sticking flat to your head.
- The Round Brush Roll: Place the round brush underneath a section of hair, close to the roots. Wrap the hair around the brush, ensuring that it’s taut but not pulling too tightly. Direct the airflow from the dryer downward onto the hair, following the brush as you slowly pull it through the section. This downward motion is essential for smoothing the cuticle and preventing frizz.
- Tension is Key: Maintaining consistent tension on the hair as you move the brush and dryer is crucial for achieving a smooth, polished finish. The tension helps to stretch the hair and create that sleek, salon-quality look.
- The Cool-Shot Button: This is your secret weapon for locking in shape and shine. Once a section is completely dry, blast it with cool air for a few seconds. This helps to set the style, close the cuticle, and add a boost of shine. Don’t skip this step!
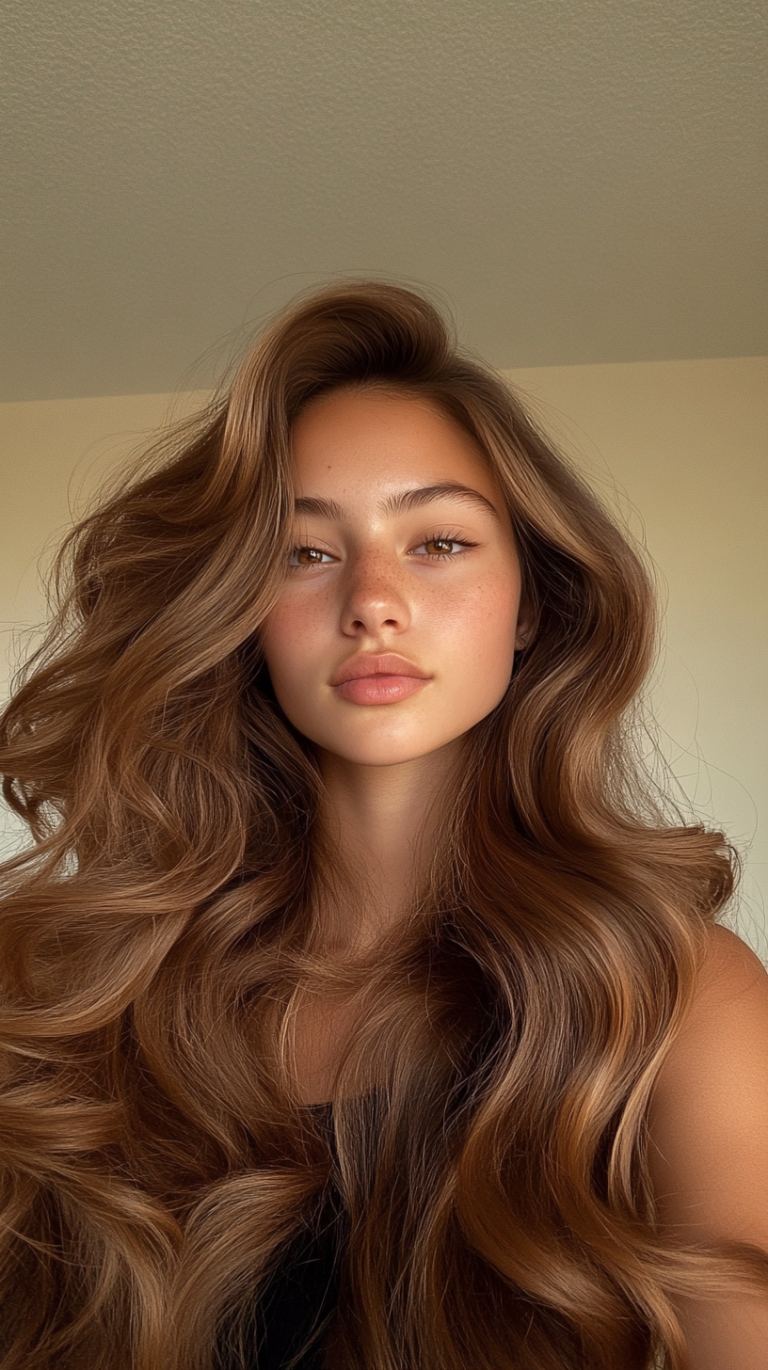
- Victoria’s Secret Side Part (Optional): For that signature bombshell volume, blow-dry your hair in the opposite direction of your desired part first. Then, flip your hair to your preferred side for maximum lift and a dramatic, voluminous look.
- Repeat, Repeat, Repeat: Continue sectioning and drying, moving from the nape to the crown.
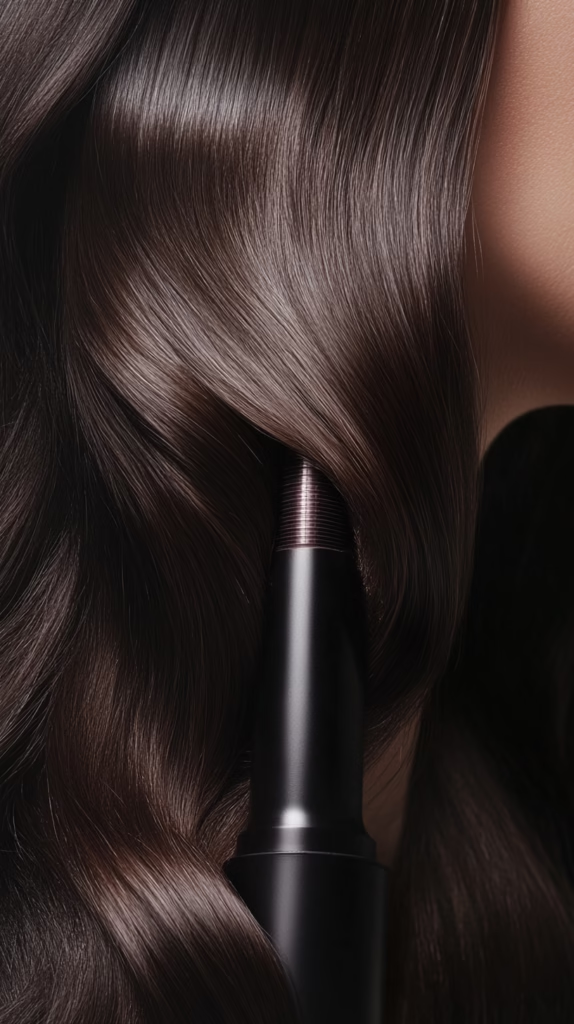
5. Lock in Shine: Serums, Sprays, & the Power of Cold Air
Once your hair is completely dry, it’s time to add the finishing touches that will elevate your blowout to the next level. These products and techniques will enhance shine, add hold, and create texture.
- Hair Serum: A small amount of hair serum applied to the mid-lengths and ends can work wonders for taming flyaways, adding shine, and creating a polished finish. Moroccanoil Treatment is a cult classic for a reason – it’s lightweight, absorbs quickly, and leaves hair feeling incredibly soft and silky. Use just a pearl-sized drop; too much can weigh down your hair.
- Hairspray: A light- to medium-hold hairspray is essential for locking in your style and providing long-lasting hold. Bumble and Bumble Thickening Spray is an excellent option. It provides flexible hold and doesn’t weigh your strands down.
- Texturizing Spray (for Curls or Waves): If you’ve created curls or waves with your blowout, a texturizing spray can add definition, volume, and a touch of “undone” texture. Drybar Southern Belle Volumizing Mousse is fantastic. Spray it onto your hands and scrunch gently into your curls. Do not apply directly to the roots, as this is a volumizer.
- The Power of Cold Air (Revisited): If you notice any areas that need a little extra smoothing or shine, give them another blast of cool air from your dryer.
6. Nighttime Care: Preserve Your Blowout While You Sleep
Protecting your blowout overnight is crucial for extending its life and minimizing the need for restyling in the morning.
- Sleep on Silk: Cotton pillowcases can create friction, leading to frizz, breakage, and a messy blowout. Switching to a silk or satin pillowcase, like the Slip Silk Pillowcase, will dramatically reduce friction, helping to preserve your style and keep your hair smooth and shiny.
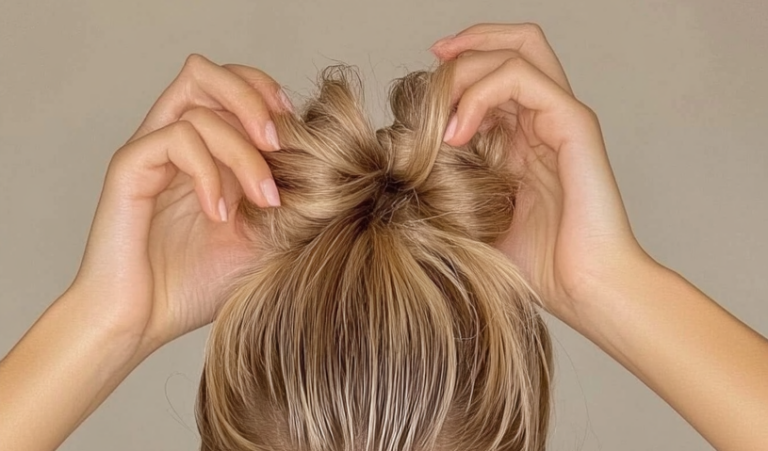
- The Loose Topknot: Gather your hair into a very loose topknot at the crown of your head. This will help to maintain volume and prevent your hair from becoming flattened or creased while you sleep. Use a satin scrunchie, like those from [Slip](Insert Amazon Affiliate Link Here), to avoid creating dents or kinks in your hair.
- Dry Shampoo Before Bed: This is a pro tip that can make a big difference. Instead of waiting until the morning to apply dry shampoo, apply it before you go to bed. This allows it to absorb oil overnight, preventing your hair from becoming greasy and extending the life of your blowout. OUAI Hair Refresh Dry Shampoo is a great option.
7. Day 2 Refresh: Revive Volume Without Washing
Even with the best nighttime care, your blowout may need a little refresh on day two (or three!). Here’s how to revive volume and restore that just-styled look without washing your hair.
- Flip & Massage: Flip your head upside down and gently massage your roots with your fingertips. This will help to lift the hair away from the scalp and restore some of the volume that may have been lost overnight.
- Texturizing Paste (Optional): For added lift and texture, use a tiny amount of texturizing paste, like Oribe Matte Waves Texture Lotion. Rub it between your fingertips and apply it to the roots, focusing on areas that need a boost.
- Targeted Heat: Use a travel-sized blow dryer or the cool shot on your regular dryer to briefly warm the roots for about 10 seconds, then immediately switch to cool air. This will help to reactivate the styling products and restore volume.
- Quick Curl Refresh (Optional): If you created curls with your blowout, you can use a wide-barrel curling iron to quickly touch up any sections that have fallen flat. Wrap the hair around the barrel for just 5 seconds – you don’t need to hold it for long, as you’re just refreshing the curl, not creating a new one.
8. Avoid These Blowout Saboteurs
Knowing what not to do is just as important as knowing what to do. Avoid these common mistakes that can sabotage your blowout:
- Overloading with Product: Too much product can weigh down your hair, making it look flat, greasy, and lifeless. Start with a small amount and add more only if needed.
- Skipping Heat Protection: This is a cardinal sin of heat styling! Always, always use a heat protectant to shield your hair from damage.
- Brushing Hair While Wet (Aggressively): Hair is most fragile when it’s wet. Avoid brushing it vigorously while it’s wet, as this can cause stretching, breakage, and frizz. Use a wide-tooth comb or a detangling brush designed for wet hair, and be gentle.
- Using the Wrong Brush Size: Using a brush that’s too small can create tight curls when you’re aiming for loose waves, and a brush that’s too large can make it difficult to create any shape at all.
- Not Using the Cool Shot: The cool shot is essential for setting the style and adding shine. Don’t skip it!
- Inconsistent Tension: Varying the tension on your hair as you blow-dry can lead to uneven results. Maintain consistent tension for a smooth, polished finish.
- Incorrect Angle: Holding the blow dryer at the wrong angle can direct the airflow in a way that creates frizz or flattens the hair. Always direct the airflow downward along the hair shaft.
9. Advanced Hack: Clip-In Extensions for Instant Volume
For those who crave truly dramatic volume, or who have fine or thin hair, clip-in extensions can be a game-changer.
- Choose Quality: Invest in high-quality human hair extensions that match your hair color and texture. We always use These hair extensions is a reputable brand known for its quality extensions.
- Placement is Key: Apply the extensions strategically, focusing on areas where you want to add volume and length. Typically, this will be around the crown and the back of your head.
- Blend, Blend, Blend: The key to making extensions look natural is to blend them seamlessly with your own hair. After applying the extensions, curl your natural hair and the extensions together using a large-barrel curling iron. This will create a cohesive look and prevent any obvious separation between your hair and the extensions.
10. Tailor Your Blowout to Your Hair Type
One size does not fit all when it comes to blowouts. Adjust your technique and product choices to suit your specific hair type and desired style.
- Fine Hair: Focus on maximizing volume. Use lightweight volumizing products, like Virtue Volumizing Primer, and lift the hair at the roots while blow-drying. Avoid heavy serums or oils that can weigh your hair down.
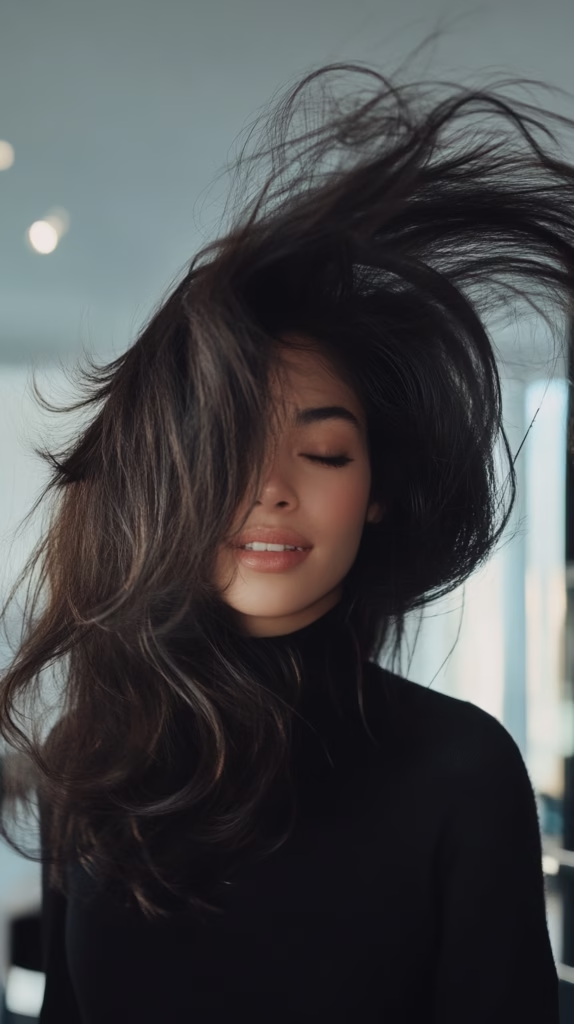
- Thick Hair: Prioritize smoothing and controlling frizz. Use a smoothing cream or serum, and work in smaller sections to ensure that your hair dries completely. We recommend Nutrafol’s hair serum.
- Curly Hair: Embrace your natural texture! Use a diffuser attachment on your blow dryer to enhance your curls and minimize frizz. Apply a curl-defining cream, like DevaCurl SuperCream Coconut Curl Styler, to damp hair before diffusing.
- Layered Hair: Emphasize the different lengths and create movement. Use a concentrator nozzle on your blow dryer to direct the airflow and create definition around your face-framing layers.
- Straight Hair: Focus on creating sleekness and shine. Use a smoothing serum and a paddle brush to achieve a perfectly straight blowout.
Conclusion: Your Blowout, Your Crown
You don’t need a salon to have hair that stops traffic. With these tips, your blowout will rival any red-carpet look—big, bouncy, and dripping with shine. Remember, the perfect blowout is a combination of the right preparation, the right tools, the right technique, and the right products for your hair type. It’s about empowering yourself to create a look that makes you feel confident and beautiful. Experiment, practice, and don’t be afraid to make it your own. Your hair is your crown – wear it proudly!